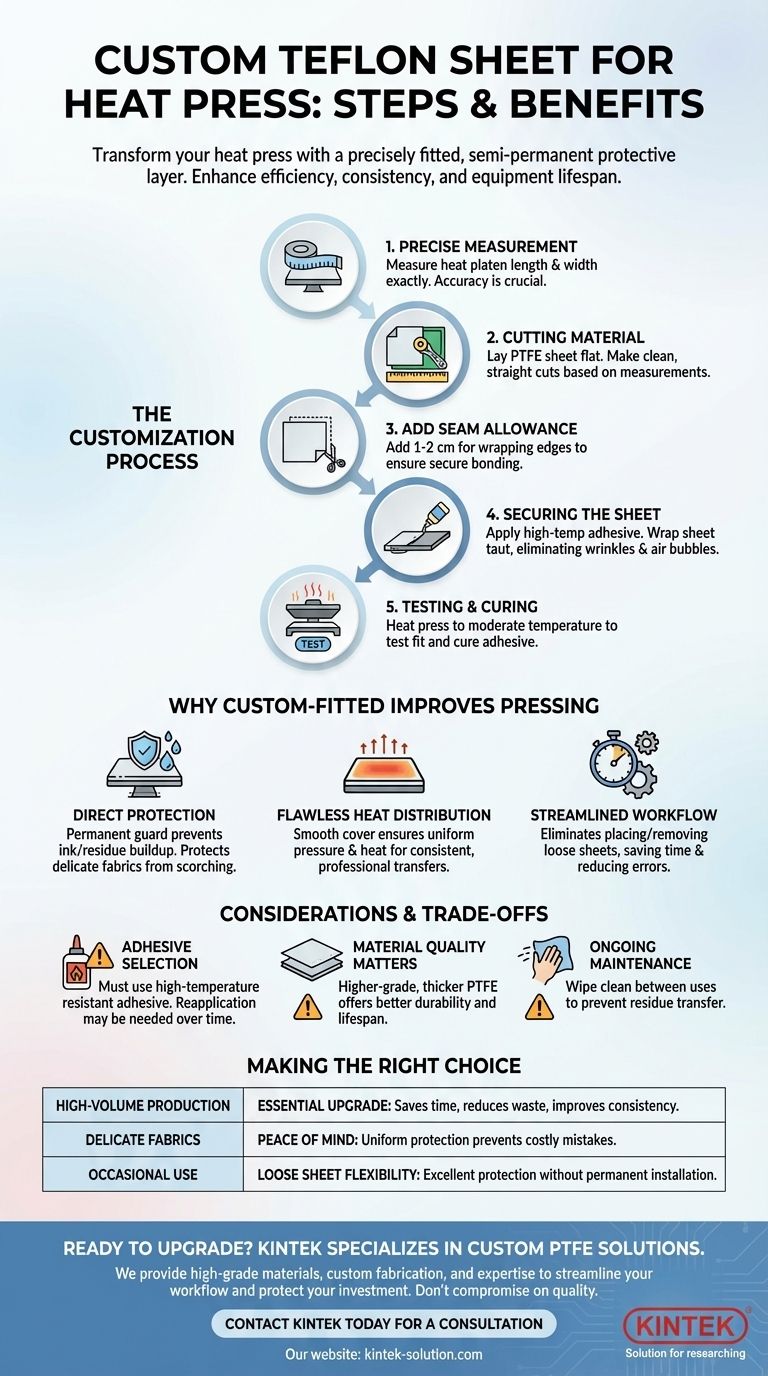
To create a custom Teflon sheet for a heat press, you must precisely measure your machine's heat platen, cut the sheet to size, and secure it smoothly using a heat-resistant adhesive. The process involves adding a small seam allowance for attachment, applying the adhesive evenly, and then testing the fit by heating the press to ensure a secure, functional bond.
The core goal is not just to cut a sheet to fit, but to integrate a permanent, non-stick protective layer into your heat press. This streamlines your workflow, eliminates user error, and provides consistent protection for both your equipment and your materials.

Why a Custom-Fitted Sheet Improves Your Pressing
While a loose Teflon sheet offers protection, creating a semi-permanent, fitted cover for your platen elevates your process from a manual craft to a more reliable production system. It addresses common points of failure before they happen.
The Principle of Direct Protection
A fitted sheet acts as a permanent guard for your upper heat platen. This prevents inks, dyes, or vinyl adhesive from ever making contact with the metal, eliminating the risk of residue buildup or stains.
It also protects delicate fabrics from scorching or discoloration by providing a consistent, smooth barrier between the raw heat source and the garment.
Ensuring Flawless Heat Distribution
Loose sheets can wrinkle or shift during operation, creating small gaps or areas of uneven pressure. These inconsistencies can lead to flawed or incomplete transfers.
A perfectly smooth, custom-fitted cover ensures that heat and pressure are distributed with absolute uniformity across the entire surface, leading to more professional and repeatable results.
Streamlining Your Production Workflow
The most significant advantage is efficiency. By eliminating the need to place and remove a loose sheet for every single press, you reduce a step in your process.
This not only saves time in high-volume environments but also removes a potential source of error, such as forgetting to use the sheet or placing it incorrectly.
The Step-by-Step Customization Process
Precision is key throughout this process. A well-fitted sheet will function as a natural part of your machine, while a poorly fitted one can cause more problems than it solves.
Step 1: Precise Measurement
Using a flexible measuring tape, carefully measure the length and width of your heat press's upper platen. Record these dimensions exactly. Accuracy here is non-negotiable.
Step 2: Cutting the Material
Lay your Teflon (PTFE) sheet on a flat, protected surface. Transfer your measurements to the sheet and use a sharp utility knife or rotary cutter with a straight edge to make clean, straight cuts.
Step 3: Adding a Seam Allowance
If you plan to wrap the sheet around the edges of the platen, add a 1-2 cm (approximately half an inch) seam allowance to each side that will be folded over. This provides the necessary surface area for the adhesive to bond securely.
Step 4: Securing the Sheet
Apply a high-temperature, heat-resistant adhesive to the edges of the platen or the seam allowance on the sheet itself. Carefully wrap the sheet around the platen, pulling it taut to ensure there are no wrinkles or air bubbles. Press the edges down firmly.
Step 5: Testing and Curing
Once the sheet is in place, turn on your heat press and set it to a moderate temperature. Heating the platen not only tests the fit but also helps cure the adhesive, creating a stronger, more permanent bond.
Understanding the Trade-offs and Considerations
Creating a custom sheet is a valuable upgrade, but it requires understanding the limitations and maintenance involved.
Adhesive Selection and Durability
The single most critical component beyond the sheet itself is the heat-resistant adhesive. Standard glues will fail. You must use an adhesive specifically rated for the high temperatures of your heat press. Be aware that even the best adhesives can degrade over time and may require reapplication.
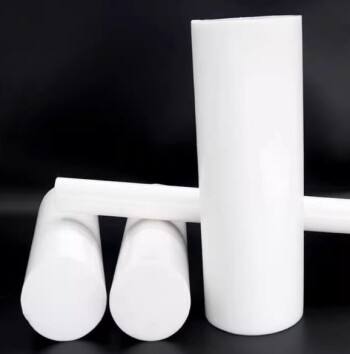
Material Quality Matters
Not all Teflon sheets are created equal. A thicker, higher-grade PTFE sheet will offer better durability and a longer lifespan than a thin, budget-friendly alternative. Investing in a quality material is essential for a solution that lasts.
Ongoing Maintenance
A fitted sheet is not a "set it and forget it" solution. You must still wipe the surface clean between uses to prevent faint ink or residue from one project from transferring to the next.
Making the Right Choice for Your Goal
Use these guidelines to decide if a custom-fitted sheet is the right upgrade for your specific needs.
- If your primary focus is high-volume production: A fitted sheet is an essential upgrade that will save time, reduce material waste, and improve consistency.
- If your primary focus is working with delicate fabrics: The guaranteed, uniform protection of a fitted sheet provides peace of mind and prevents costly mistakes from scorching or staining.
- If your primary focus is occasional use or varied tasks: A standard loose sheet provides excellent flexibility and protection without the commitment of semi-permanent installation.
Integrating a custom-fitted sheet transforms your press into a more precise and reliable tool.
Summary Table:
| Step | Key Action | Why It Matters |
|---|---|---|
| 1. Measurement | Precisely measure the heat platen. | Accuracy is non-negotiable for a perfect fit. |
| 2. Cutting | Cut the PTFE sheet to size with a sharp blade. | Ensures clean edges and a smooth surface. |
| 3. Seam Allowance | Add 1-2 cm extra on edges for wrapping. | Provides surface area for a secure adhesive bond. |
| 4. Securing | Apply high-temperature adhesive and wrap sheet taut. | Eliminates wrinkles and air bubbles for uniform heat. |
| 5. Testing | Heat the press to cure the adhesive. | Tests the fit and creates a permanent, strong bond. |
Ready to upgrade your heat press with a precision-custom PTFE sheet?
At KINTEK, we specialize in manufacturing high-performance PTFE components for industrial and specialized applications. We understand that a perfectly fitted sheet is crucial for protecting your equipment and ensuring consistent, high-quality results.
We can help you:
- Source the right material: Get durable, high-grade PTFE sheets built to withstand high temperatures.
- Achieve a perfect fit: Leverage our custom fabrication expertise, from prototypes to high-volume orders, for a solution tailored to your specific heat press model.
- Streamline your workflow: Eliminate the guesswork and create a reliable, semi-permanent protective layer.
Don't compromise on your production quality. Let our experts provide a solution that enhances your efficiency and protects your investment.
Contact KINTEL today for a consultation on your custom PTFE needs!
Visual Guide
Related Products
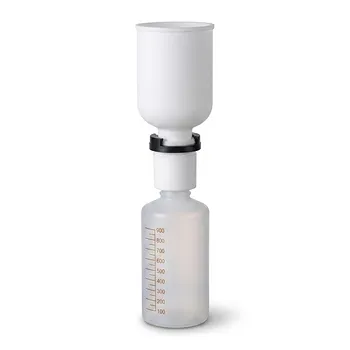
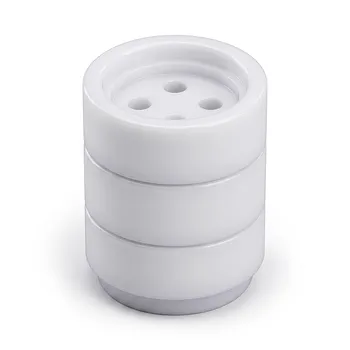
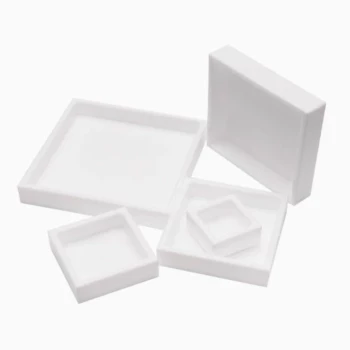
- Customizable PTFE Heat Insulation Plate High Temperature Corrosion Resistant Laboratory Support Layered Multi Tier Stand
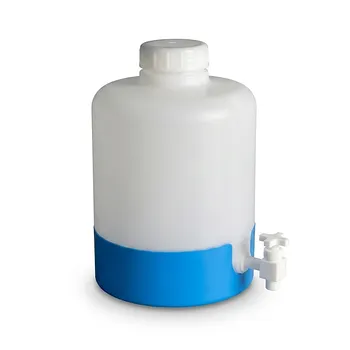
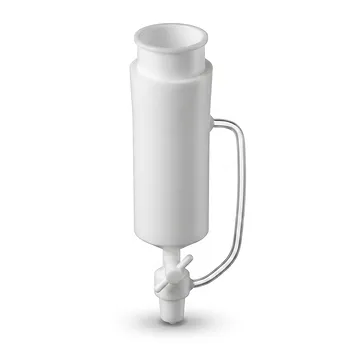
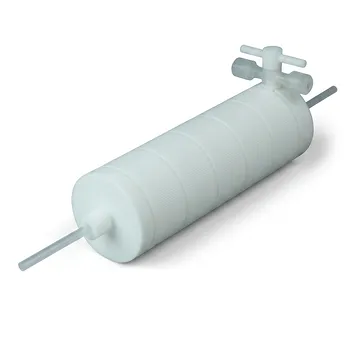
- High Corrosion Resistant PTFE Faucet Polytetrafluoroethylene Valve for Chemical Storage Drums and Fluid Transfer Systems Customizable Industrial Grade
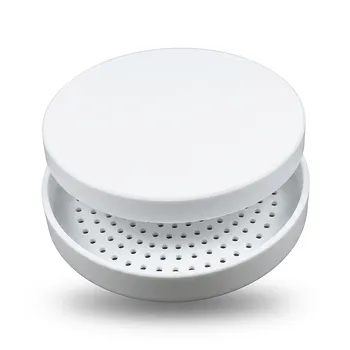
- PTFE Anti Scald Heat Insulation Sleeve Hot Plate Support Feet Laboratory Benchtop Protection Customizable Thermal Barrier
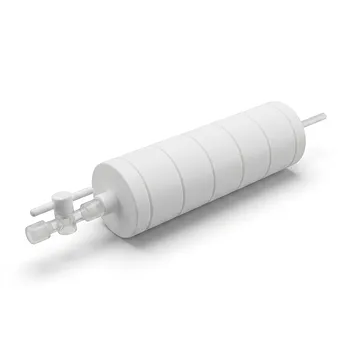
- PTFE Corrosion Resistant Filter with PFA Valve Connections and Integrated Sieve Plate
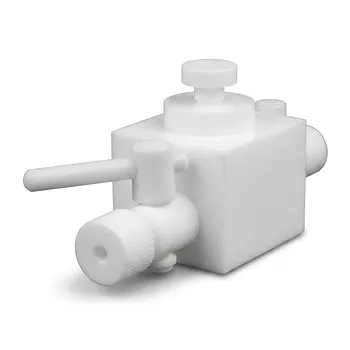
- Custom PTFE Filtration System Acid Resistant High Purity Semiconductor Grade Chemical Processing Filter
People Also Ask
- Is PTFE considered a metal or plastic? Understanding Its True Classification
- What are the key physical and chemical properties of PTFE? Unlock Unmatched Chemical & Thermal Resistance
- What are the limitations of pure PTFE in high temperature applications? Understanding the 200°C Ceiling
- What are the properties of standard Polytetrafluoroethylene (PTFE)? The Ultimate Guide to Its Strengths & Limitations
- Are there any significant differences between PTFE and Teflon? The Truth About Brand vs. Material